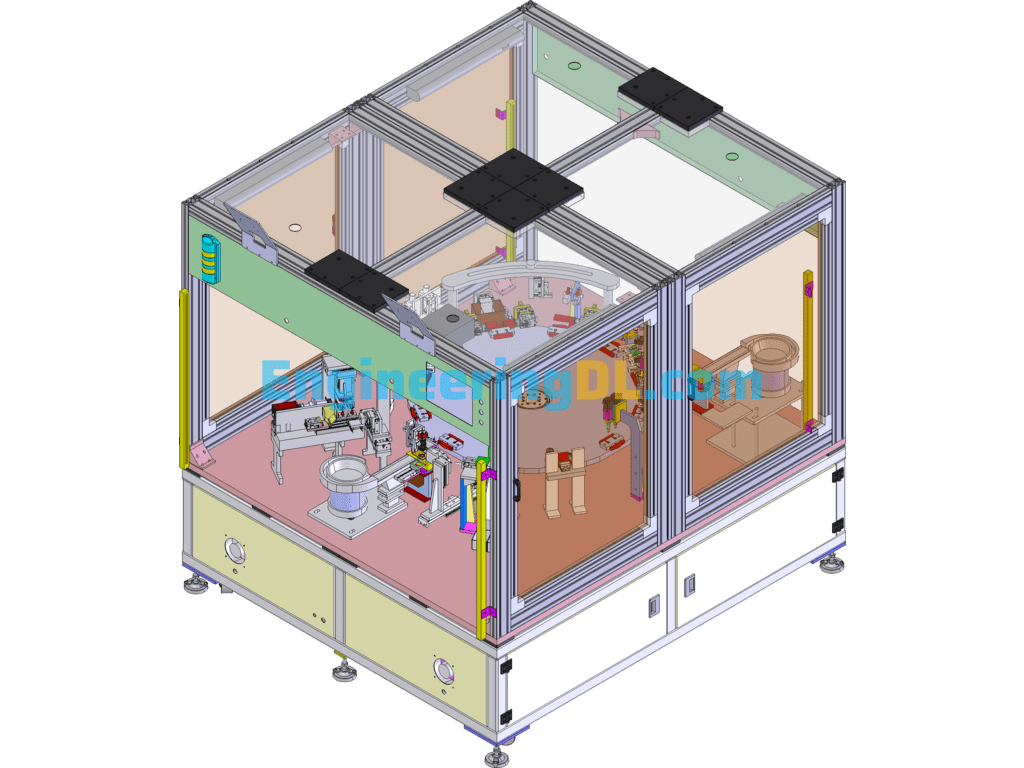
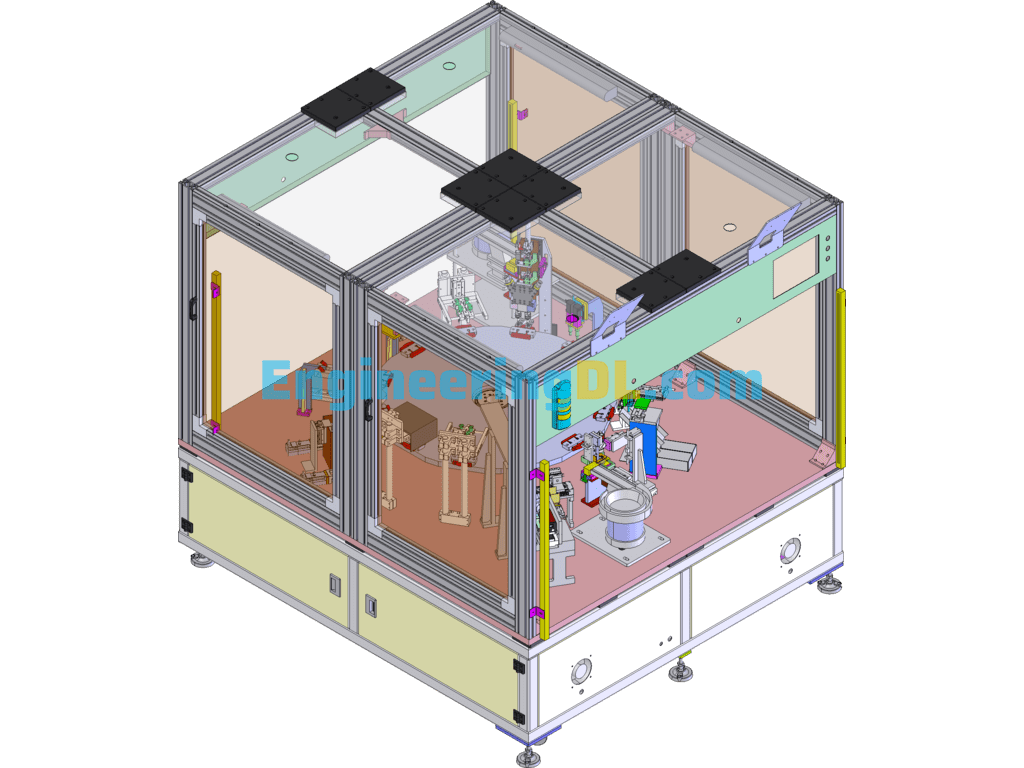
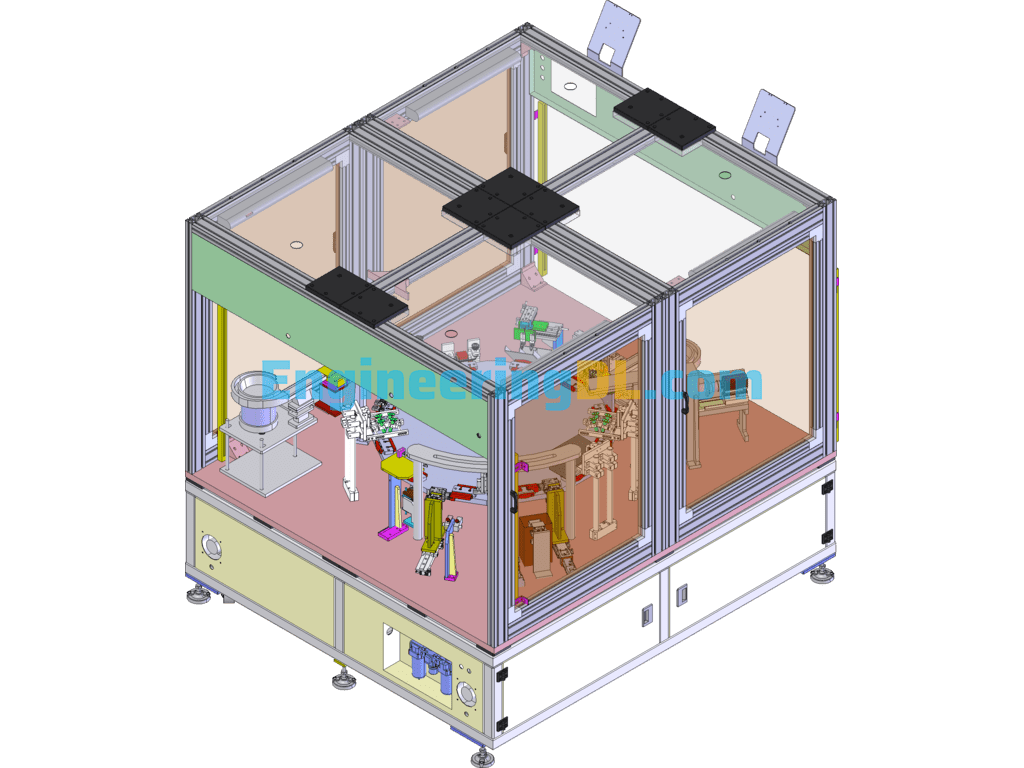
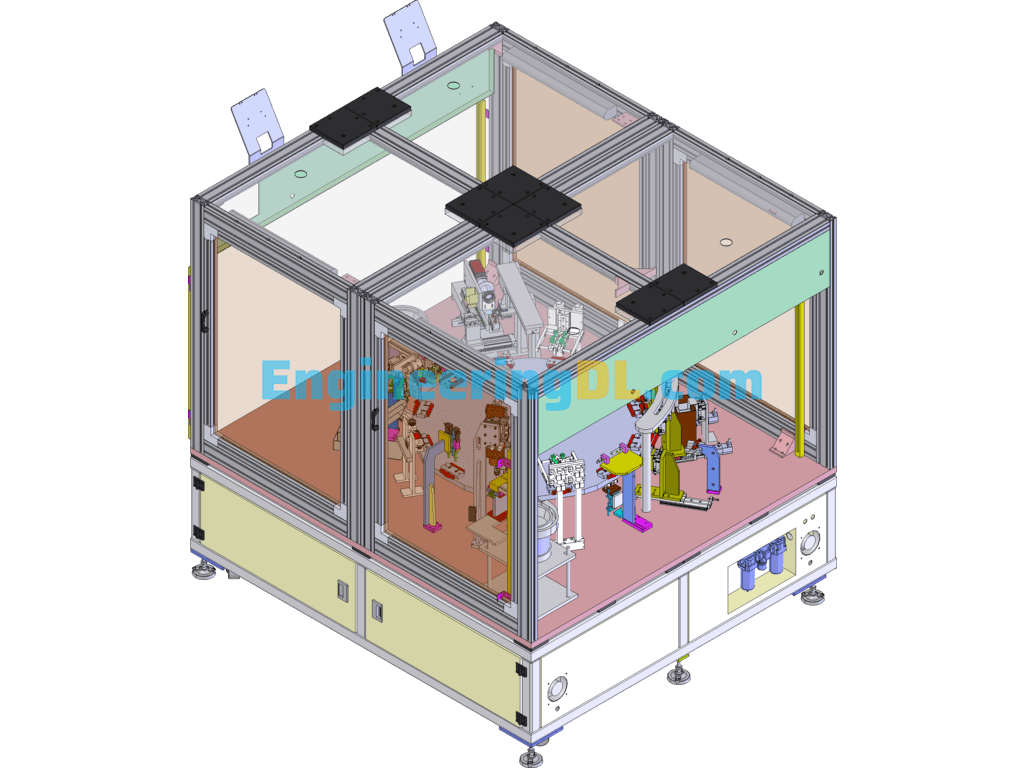
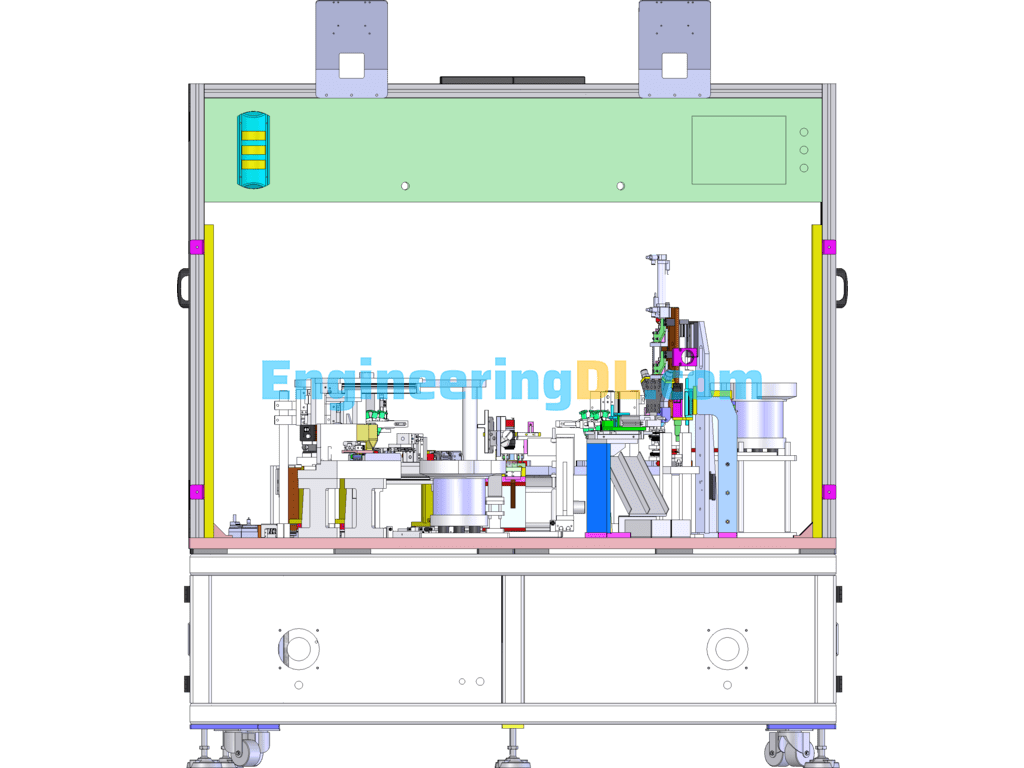
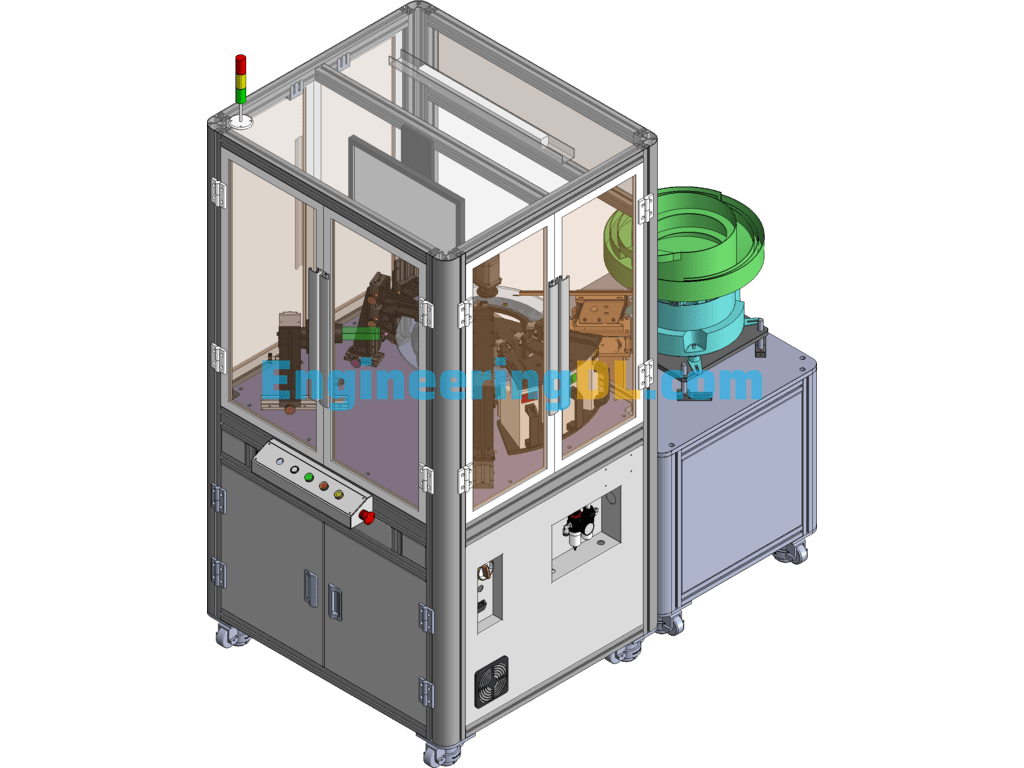
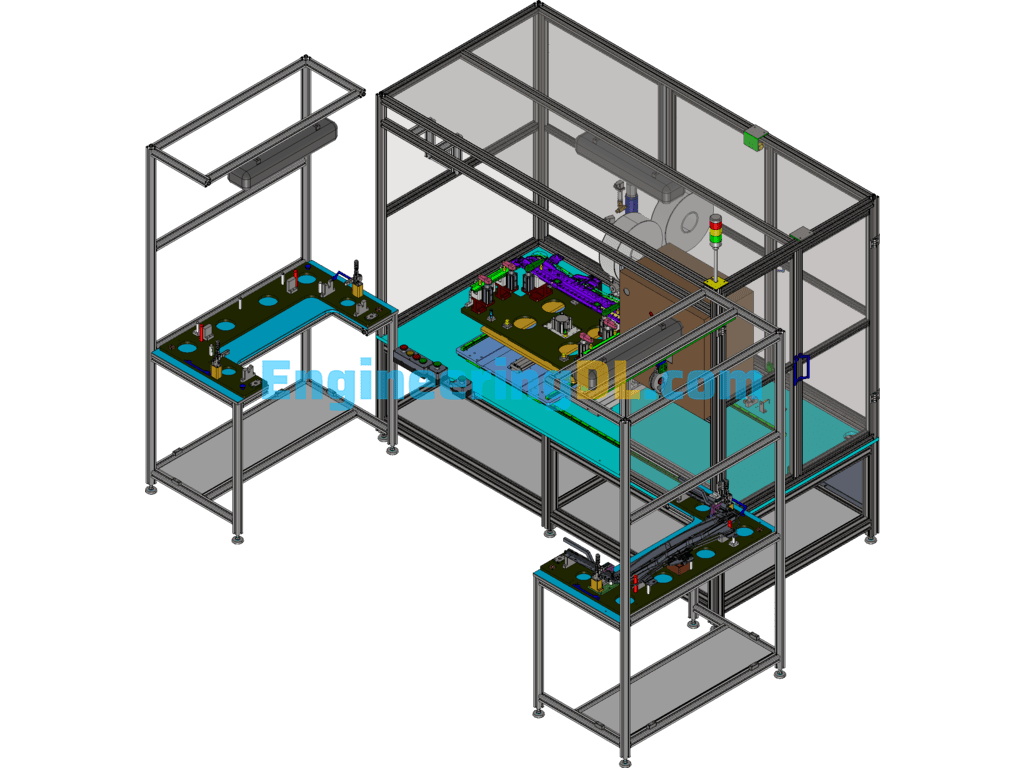
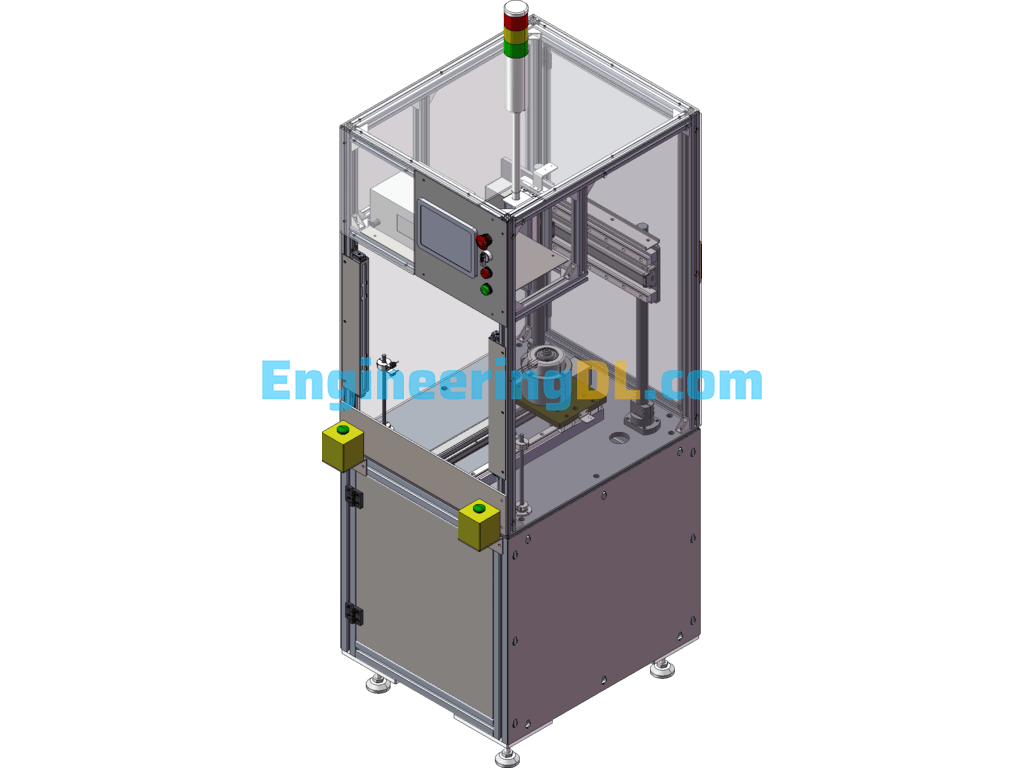
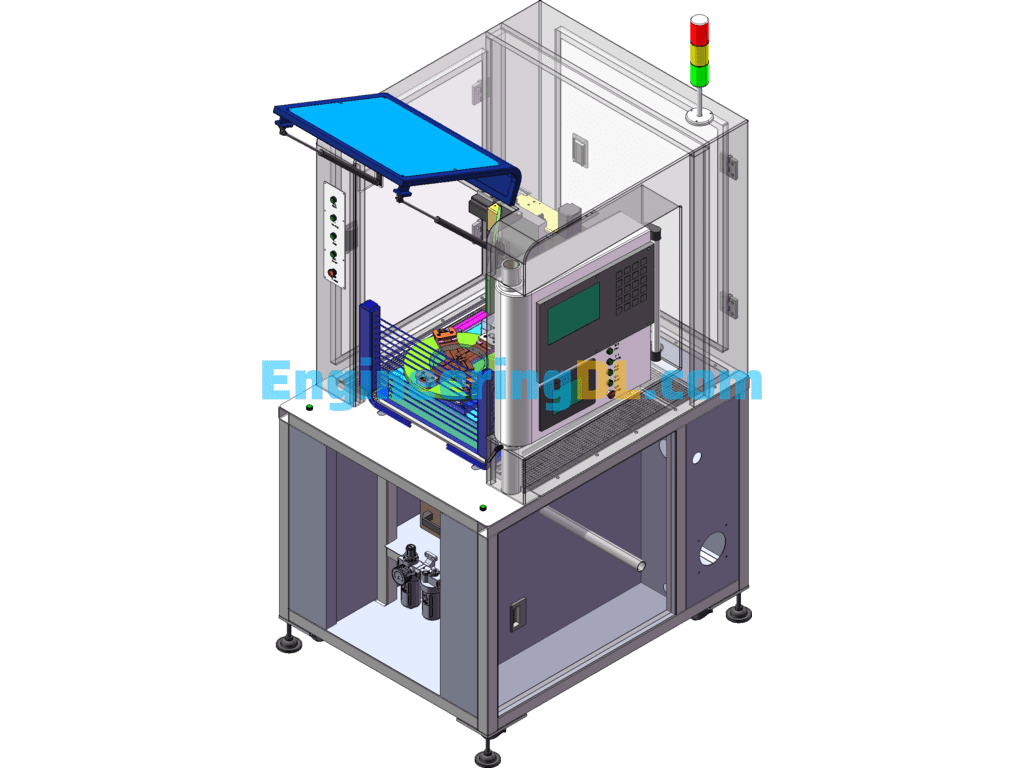
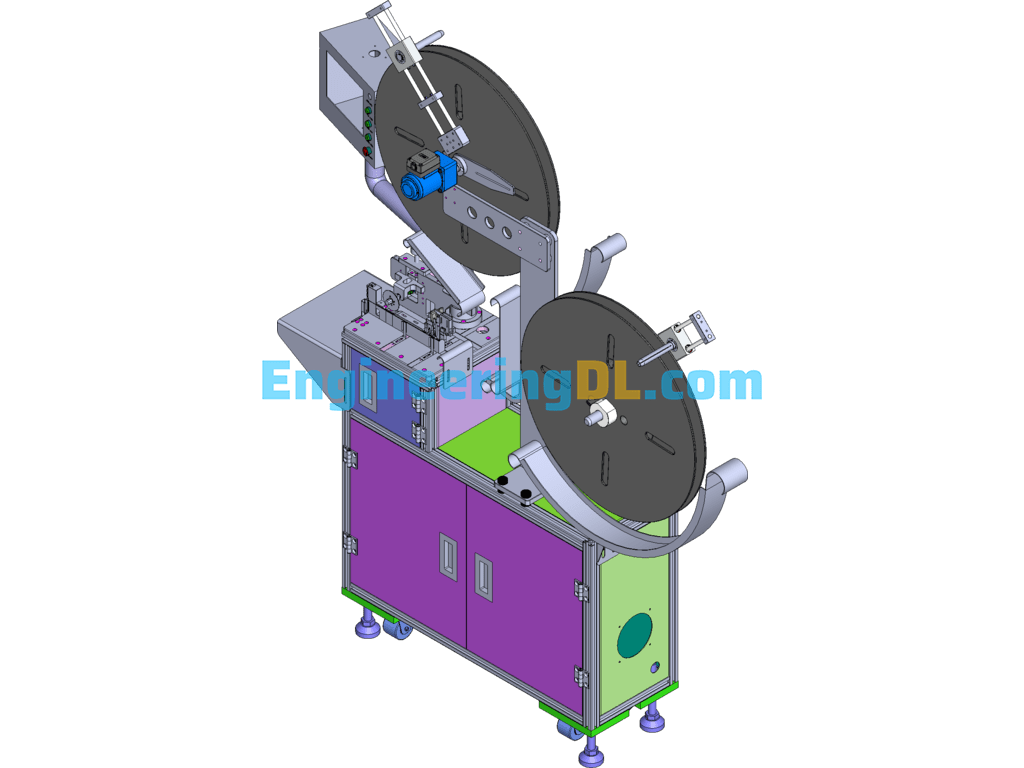
Automatic injection needle assembly and dispensing machine action description.
Step 1: Base vibrating plate into the material, and have CCD to discriminate Base positive and negative.
The second step: into the first syringe, and there is a CCD to distinguish the positive and negative side of the syringe and the presence of bad.
The third step: into the second syringe, and have CCD to distinguish the positive and negative side of the syringe and whether there is any defect.
Step 4: spot UV adhesive.
Step 5: UV curing.
Step 6: dip airtight glue.
Step 7: strong air-drying.
Step 8: silicone on the mouth of the tube.
Step 9: Cover pre-assembly.
Step 10: Cover pressed together.
Step 11: Finished product discharge (automatic distinction between OK & NG).
Step 12: Repeat the above actions.
Injection needle assembly machine working purpose: The machine automatically supplies materials (Needle, Base and Cover) and assembles them automatically.
Operation method: Disc type operation.
Brief description of the operation process:
Base feeding / into the first syringe ?? into the second syringe ?? spot UV glue ?? UV curing ?? dip airtight glue ?? strong air drying ?? silicone glue on the mouth of the tube ?? Cover pre-assembly ?? Cover pressed together ?? the finished product out of the material.
4.C/T: estimated 2pcs/5sec;
4.Machine estimated size: 2000(L)*1800(W)*1800(H)mm.
Specification: Injection Needle Assembly Dispensing Equipment SolidWorks, 3D Exported
|
User Reviews
Be the first to review “Injection Needle Assembly Dispensing Equipment SolidWorks, 3D Exported”
You must be logged in to post a review.



There are no reviews yet.